*Mods feel free to move this to a more appropriate category if necessary*
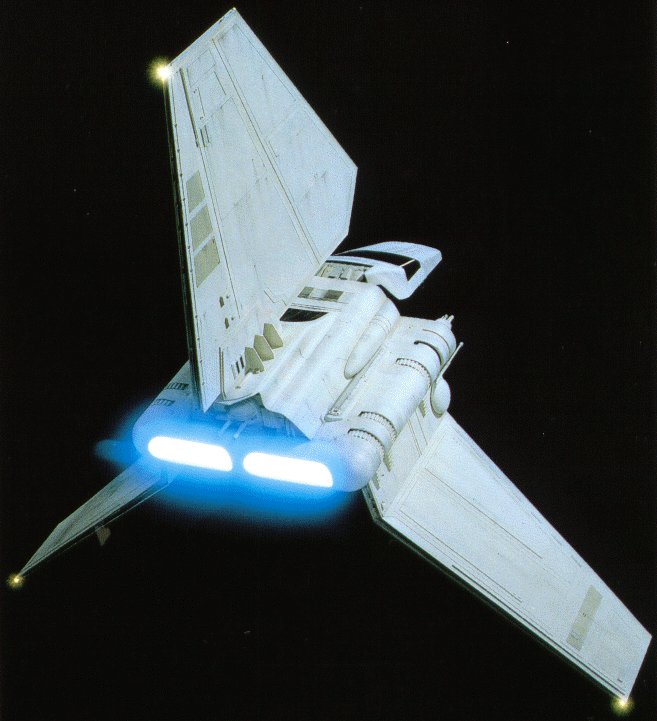
I've decided that my next project will be accurizing, to my eye, and lighting the ERTL Lambda shuttle. The main problem I'm seeing so far is creating the openings for the engine lights.
http://hangarbay.tripod.com/sh22.jpg
The kit piece is the entire rear half of the passenger cabin and the rounded area around the exhaust. if I simply cut open the holes I will have just big gapping holes.
The question is, do I attempt to cast a clear resin piece for that whole section, or an insert to place inside the exhaust areas? I have NO experience doing either one so I'm looking for an option that I have the lowest chance of screwing up.
Thanks for the advice.
Biting off more than I can chew
Moderators: DasPhule, Moderators
Biting off more than I can chew
For once you have tasted flight you will walk the earth with your eyes turned skywards, for there you have been and there you will long to return.
-
Umi_Ryuzuki

- Posts: 3841
- Joined: Fri Jul 12, 2002 2:22 pm
- Location: PDX, Oregon
- Contact:
The image is not showing,... but I imagine that if you drill out the corners of your engine openings, then cut across the piece to connect the holes, you should get a nice clean gaping hole. I think I would try to work behind the kit suppied face and limit the constuction to the engine "nozzle" proper.
The holes can then be coverd with heavy tissue, or a clear styrene, or you can sand the clear styrene for a frosted look.
Depth at the engine can be increased by framing the back side with additional styrene pieces and then mounting the tissue or styrene.
If you want to texture the engine faces, thicker acrylic could be scored and fitted into place, or you can build up an master from styrene and then cast it clear.
-
Johnnycrash

- Posts: 5563
- Joined: Fri Jul 12, 2002 12:57 pm
- Location: Timmins, Ontario, Canada
Umi, copy the link, then paste, and it will work.
As for the holes... Find a piece of clear (or frosted) tube as close to the same as the solid kit bits. Then cut and paste (as with the link) and you have it. My kit is burried deep at the moment, so I don't know the dia. of the tube (or half tube really) you would need.
The option would be to cut away the "engine exhaust" area, and then wrap the whole thing with some VERY thin clear (005, 010).
John Fleming
I know that's not what the instructions say, but the kit's wrong anyway.
I know that's not what the instructions say, but the kit's wrong anyway.