
http://img.photobucket.com/albums/v606/ ... t16012.jpg
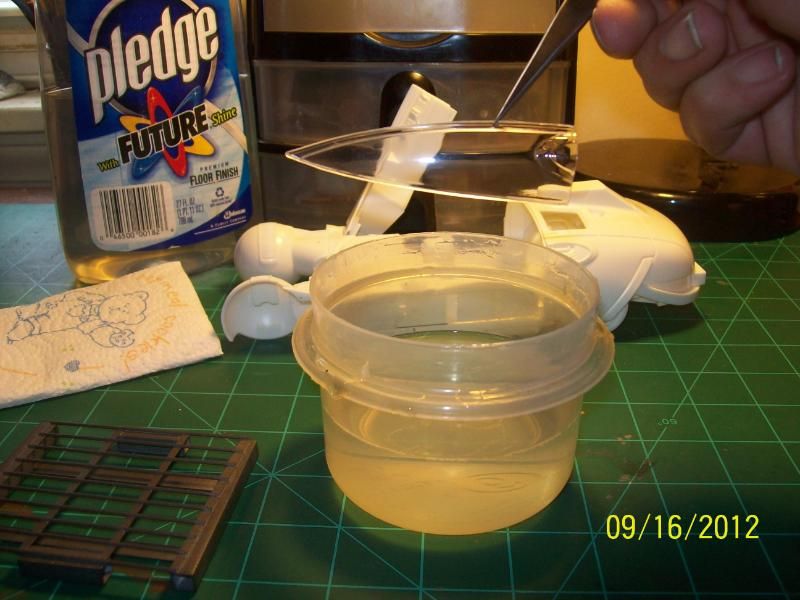
First step is to hold the clear part with your tweezers. Here I am holding the window frame of the side window from my Fujimi Spinner kit. The Future will cover the section of frame after I set the part down as Future will level itself out. Even if it didn't, the frame will be painted anyway.
http://img.photobucket.com/albums/v606/ ... t16013.jpg
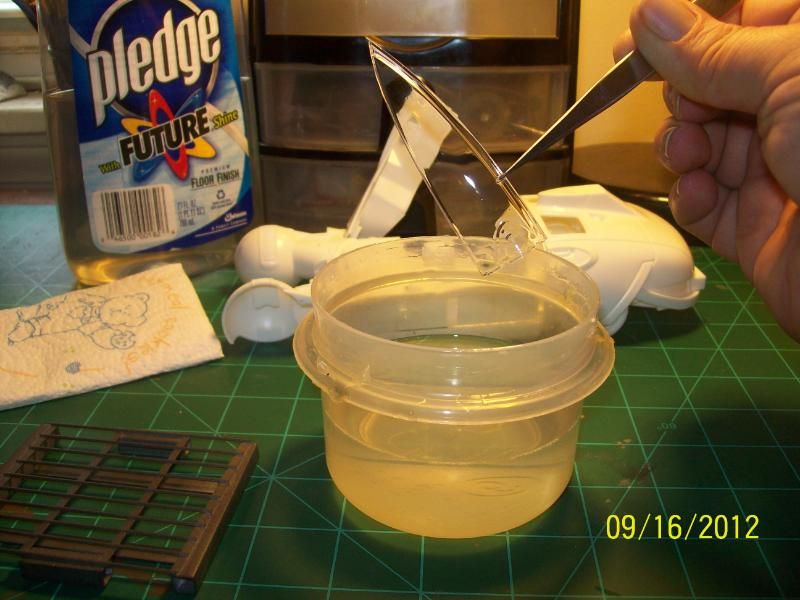
Lift the part out slowly. After dipping the part in Future, hold the part at an angle so a corner is pointing down. You want as much excess Future to run off the part. Let this drip back into your container. If you have any bubbles on the part that didn't pop or run off, re-dip the part.
http://img.photobucket.com/albums/v606/ ... t16014.jpg
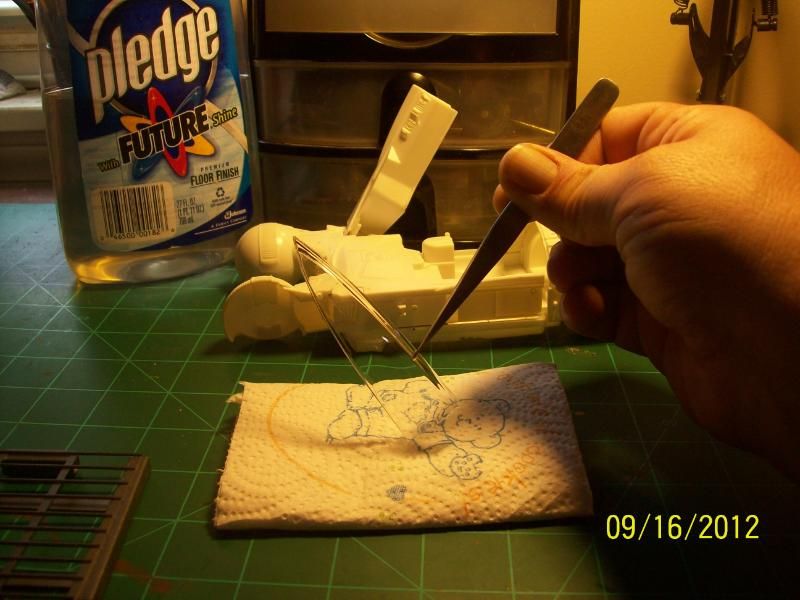
There will likely still be some excess that will not drip off. This is where your papertowel comes in. Hold the bottom corner of the part and just touch it to the papertowel. The papertowel will wick away the last drop or so of Future.
http://img.photobucket.com/albums/v606/ ... t16015.jpg
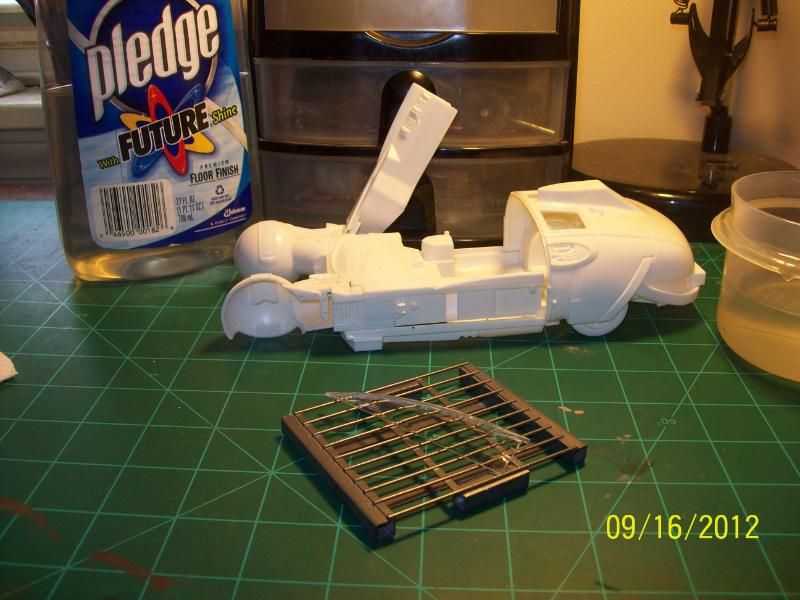
I made a small plastic rack out of plastic strip and half round to set my parts on after dipping. You dont want to set the part on something with a lot of surface contact between the parts or they will get stuck together. Yes, Future can be used as a glue. But that is another thread that I will post later.
http://img.photobucket.com/albums/v606/ ... t16016.jpg
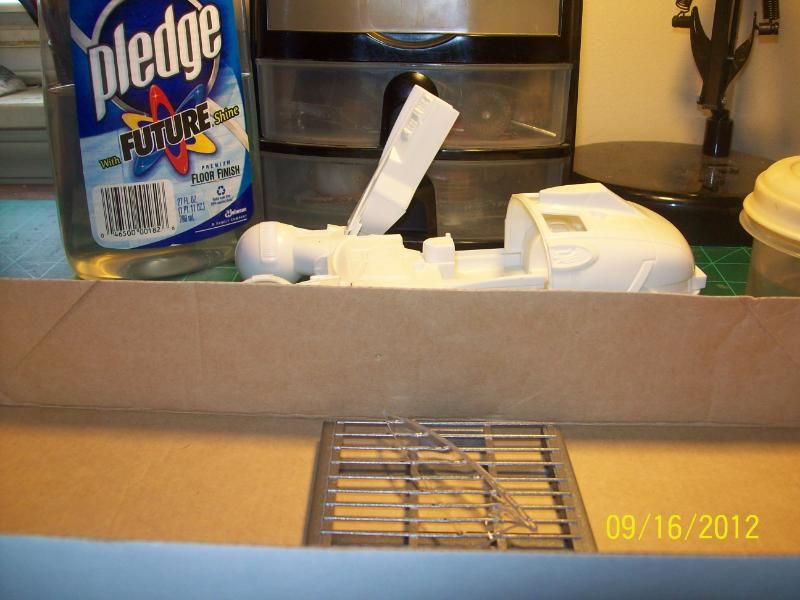
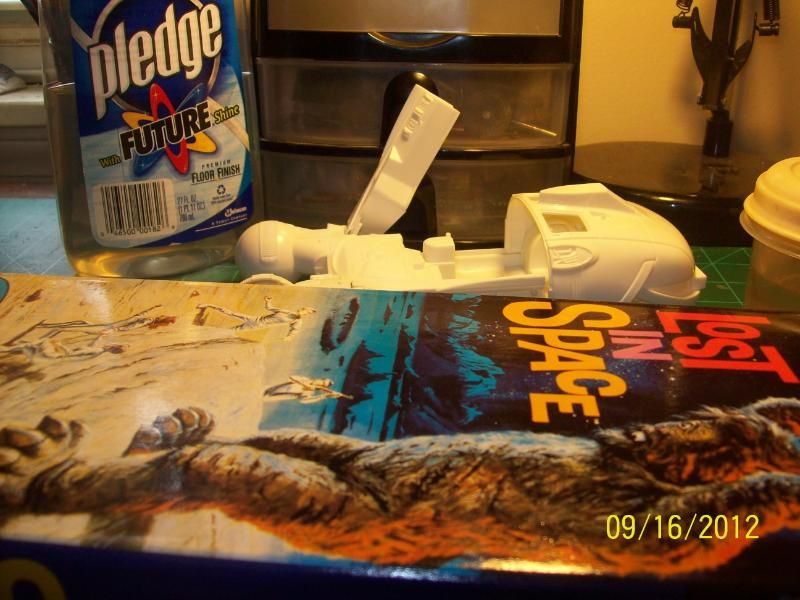
Here the rack and part have been placed in a box. You want to leave this covered until the Future dries so no dust or other particles land on the part. I typically leave the parts in a box for 24 hours to make sure the Future has cured completely.
http://img.photobucket.com/albums/v606/ ... t16017.jpg
http://img.photobucket.com/albums/v606/ ... t16018.jpg
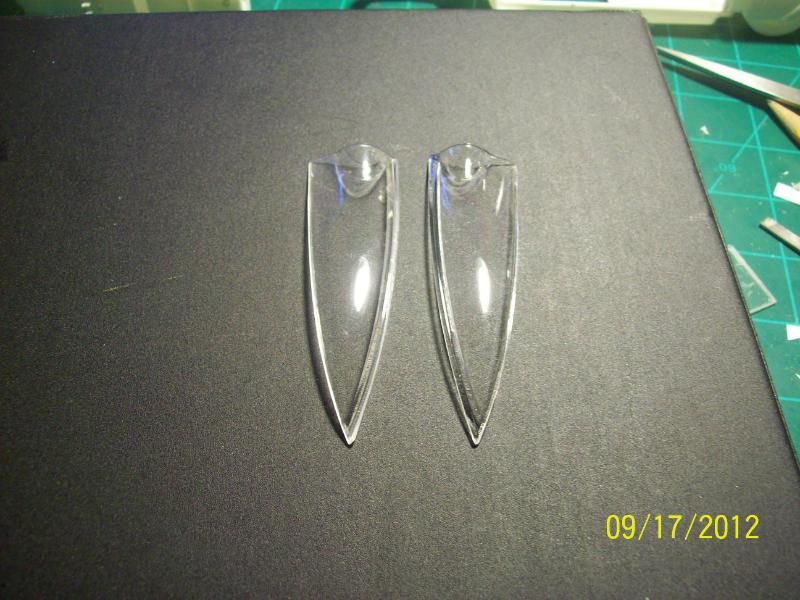
In 24 hours, I'll post a pic of the result, along with a comparison of the other window that has not been dipped yet.
Keep an eye out for another exciting installment on how to use Future on your workbench! Please comment or add any tips/tricks you may have on using Future!